Importing Your Project into Kloudfarm.io
Whether your code is on GitHub or you have it as a ZIP file, Kloudfarm.io makes it easy to import your existing projects. This allows you to automatically visualize your architecture, understand its components, and keep track of changes.
Here’s how to get started:
Step 1: Choose Your Import Method
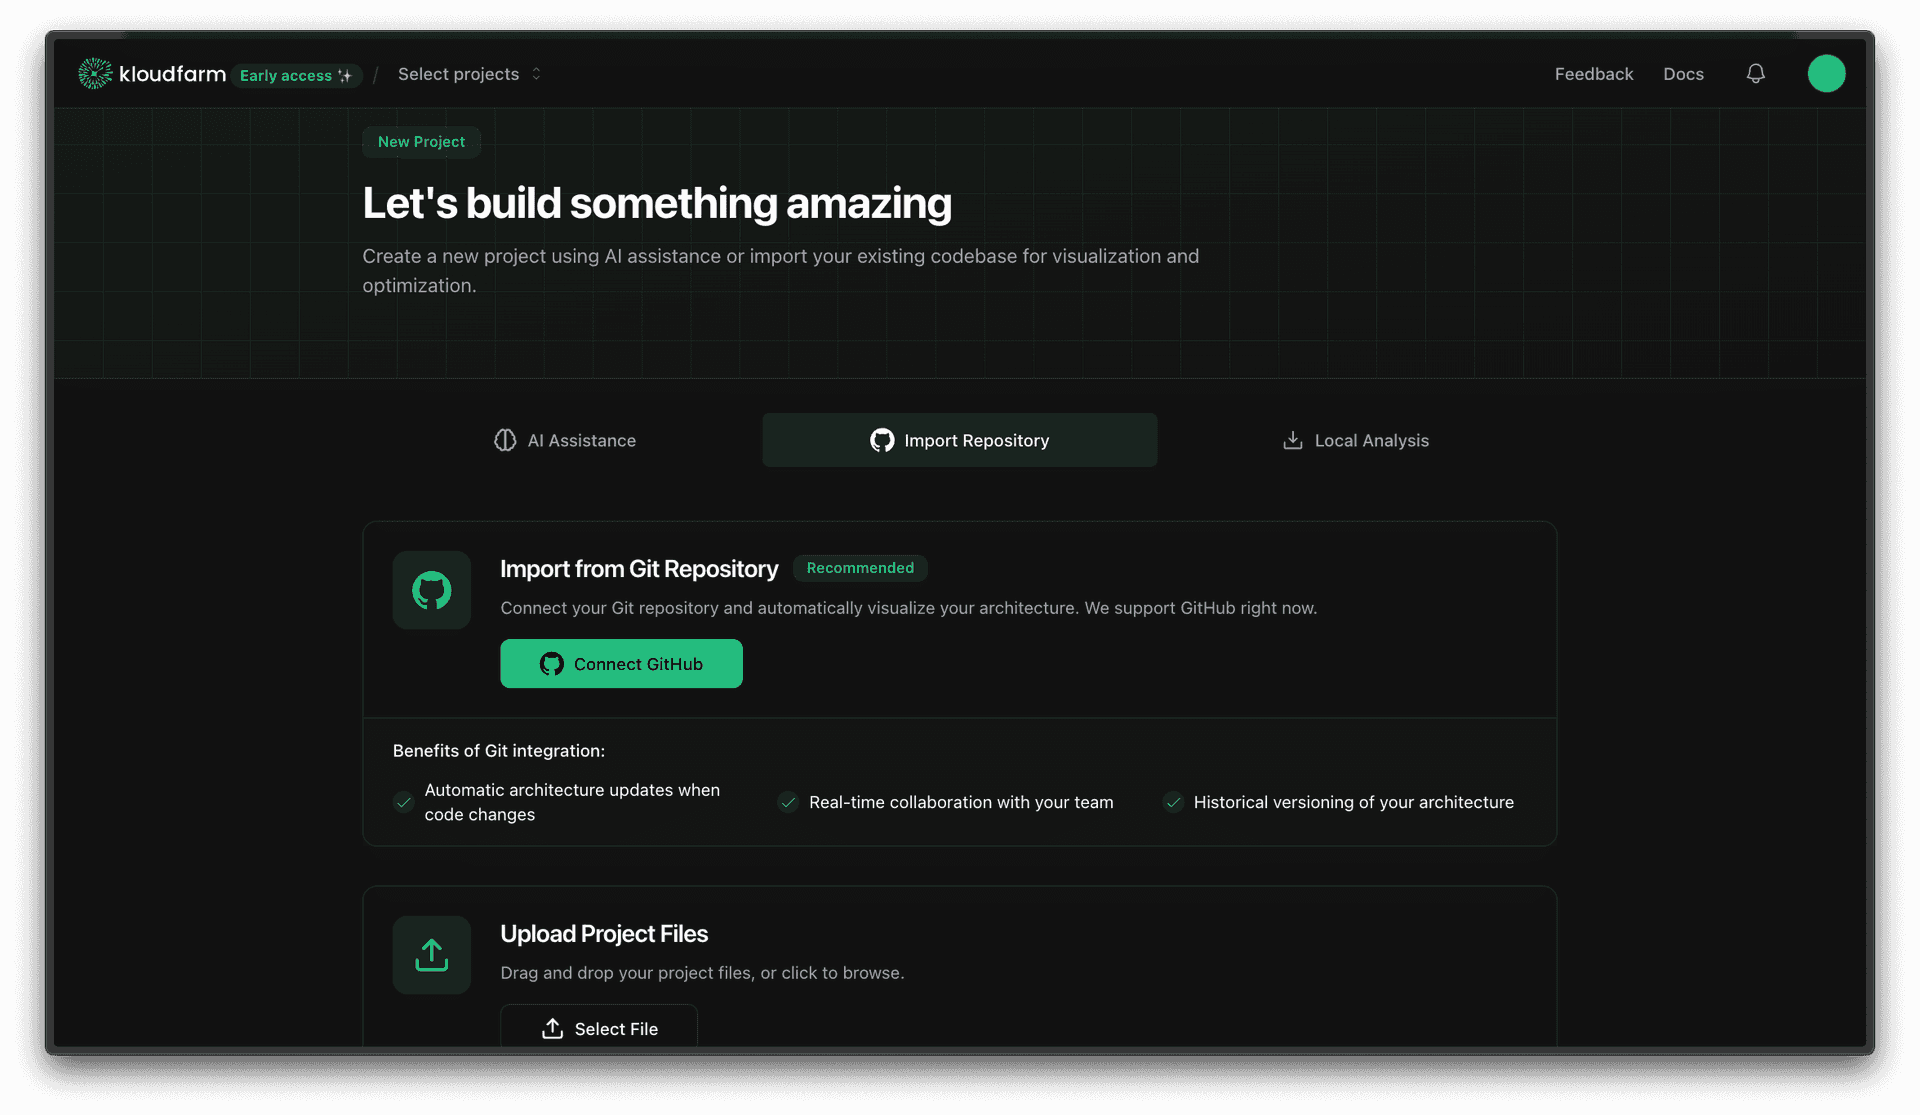
- What you'll see: On the Kloudfarm.io "Let's build something amazing" page, you'll find options to start a new project.
- What to do:
- Option A: Import from Git Repository (Recommended for GitHub users)
- Select the "Import Repository" tab.
- You'll see benefits listed like "Automatic architecture updates when code changes," "Real-time collaboration," and "Historical versioning."
- Click the "Connect GitHub" button to proceed with the GitHub flow (see section "GitHub Import Steps" below).
- Option B: Upload Project Files (For ZIP archives)
- Stay on the "Import Repository" tab (or a similar section for uploads).
- Look for the "Upload Project Files" section.
- Drag and drop your ZIP file onto the designated area, or click "Select File" to browse and choose your ZIP file.
- This will take you to the "Select Files to Include" step (see section "ZIP Upload Steps" below).
- Option A: Import from Git Repository (Recommended for GitHub users)
GitHub Import Steps (If you chose Option A)
Step 2a: Authorize Kloudfarm.io with GitHub
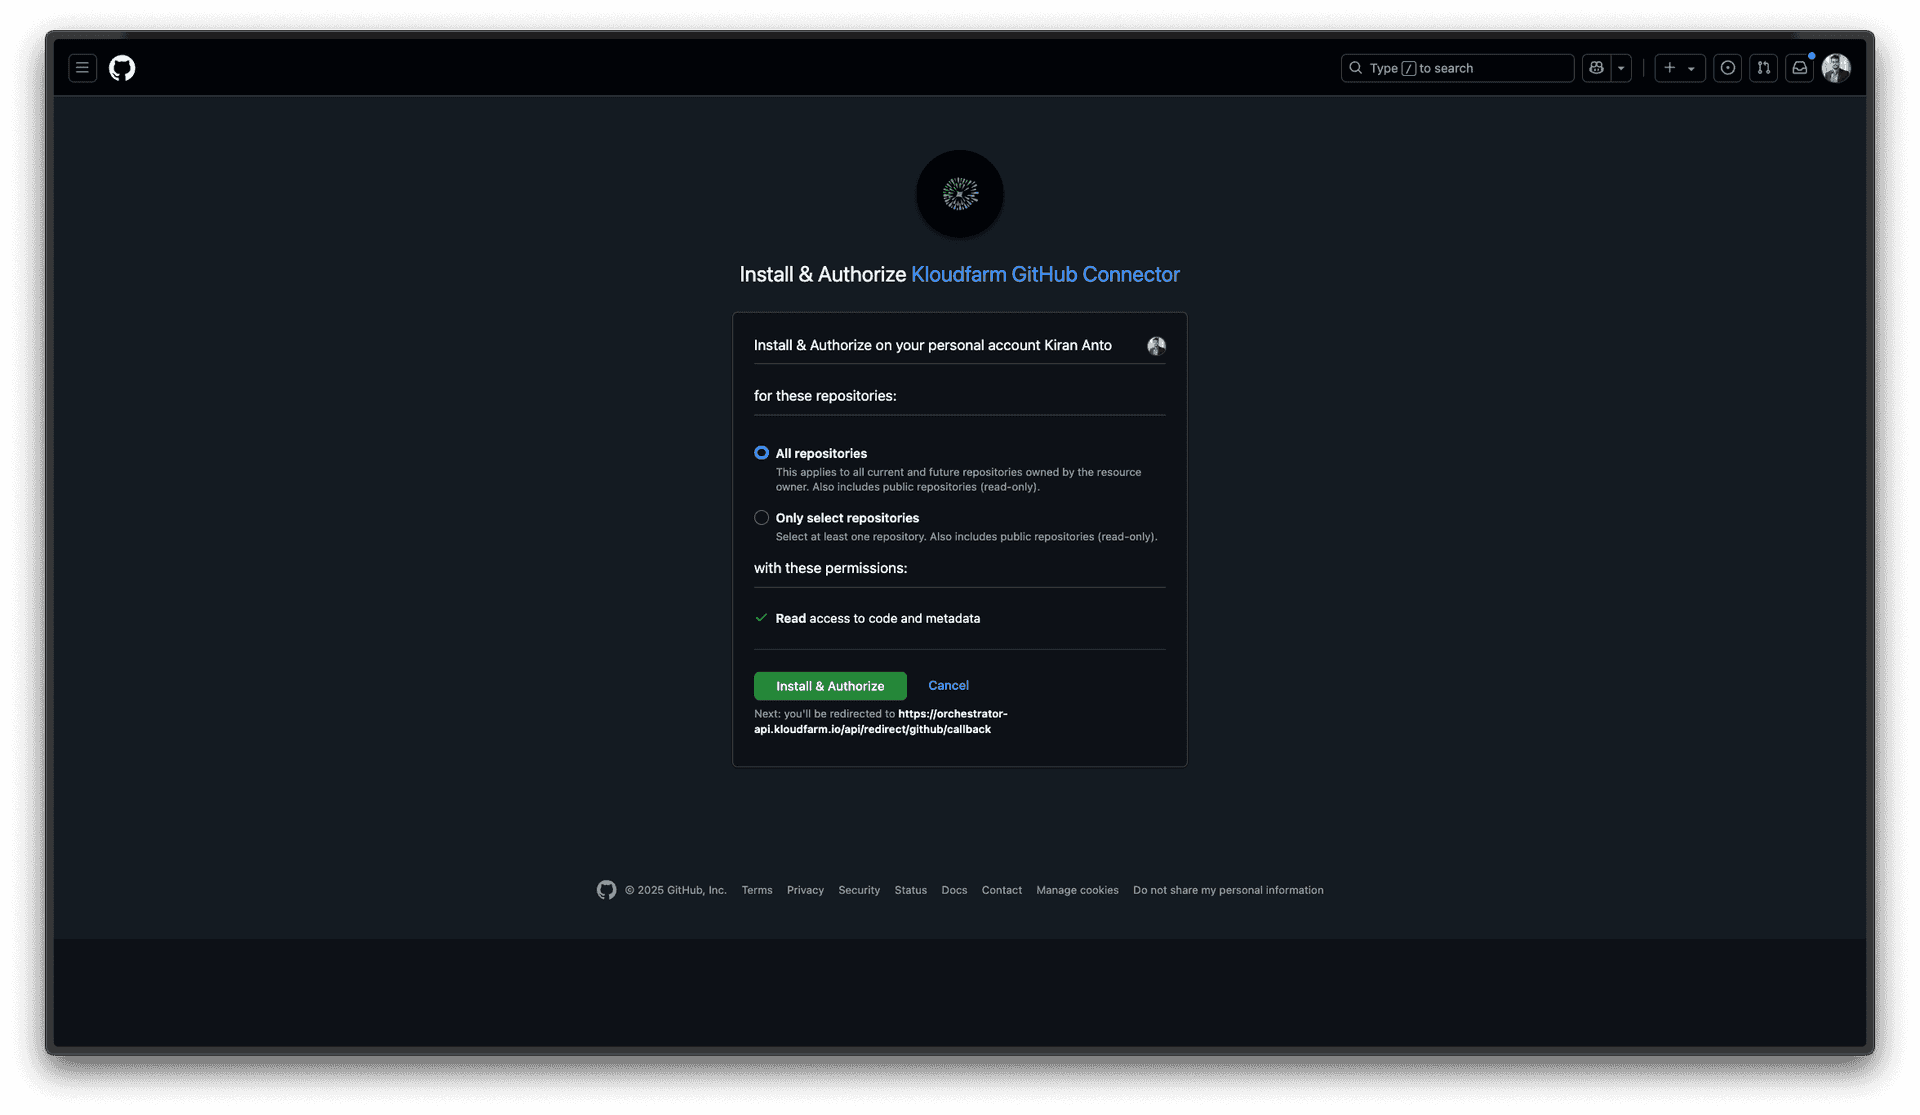
- What you'll see: You'll be taken to a GitHub authorization page titled "Install & Authorize Kloudfarm GitHub Connector."
- What to do:
- Grant Kloudfarm.io permission to access your repositories. You can choose:
- All repositories: Gives Kloudfarm.io access to all your current and future repositories.
- Only select repositories: Allows you to pick specific repositories for Kloudfarm.io to access.
- Ensure "Read access to code and metadata" is part of the permissions.
- Grant Kloudfarm.io permission to access your repositories. You can choose:
- Then: Click "Install & Authorize". You might be asked for your GitHub password.
Step 3a: Select Your Repository in Kloudfarm.io
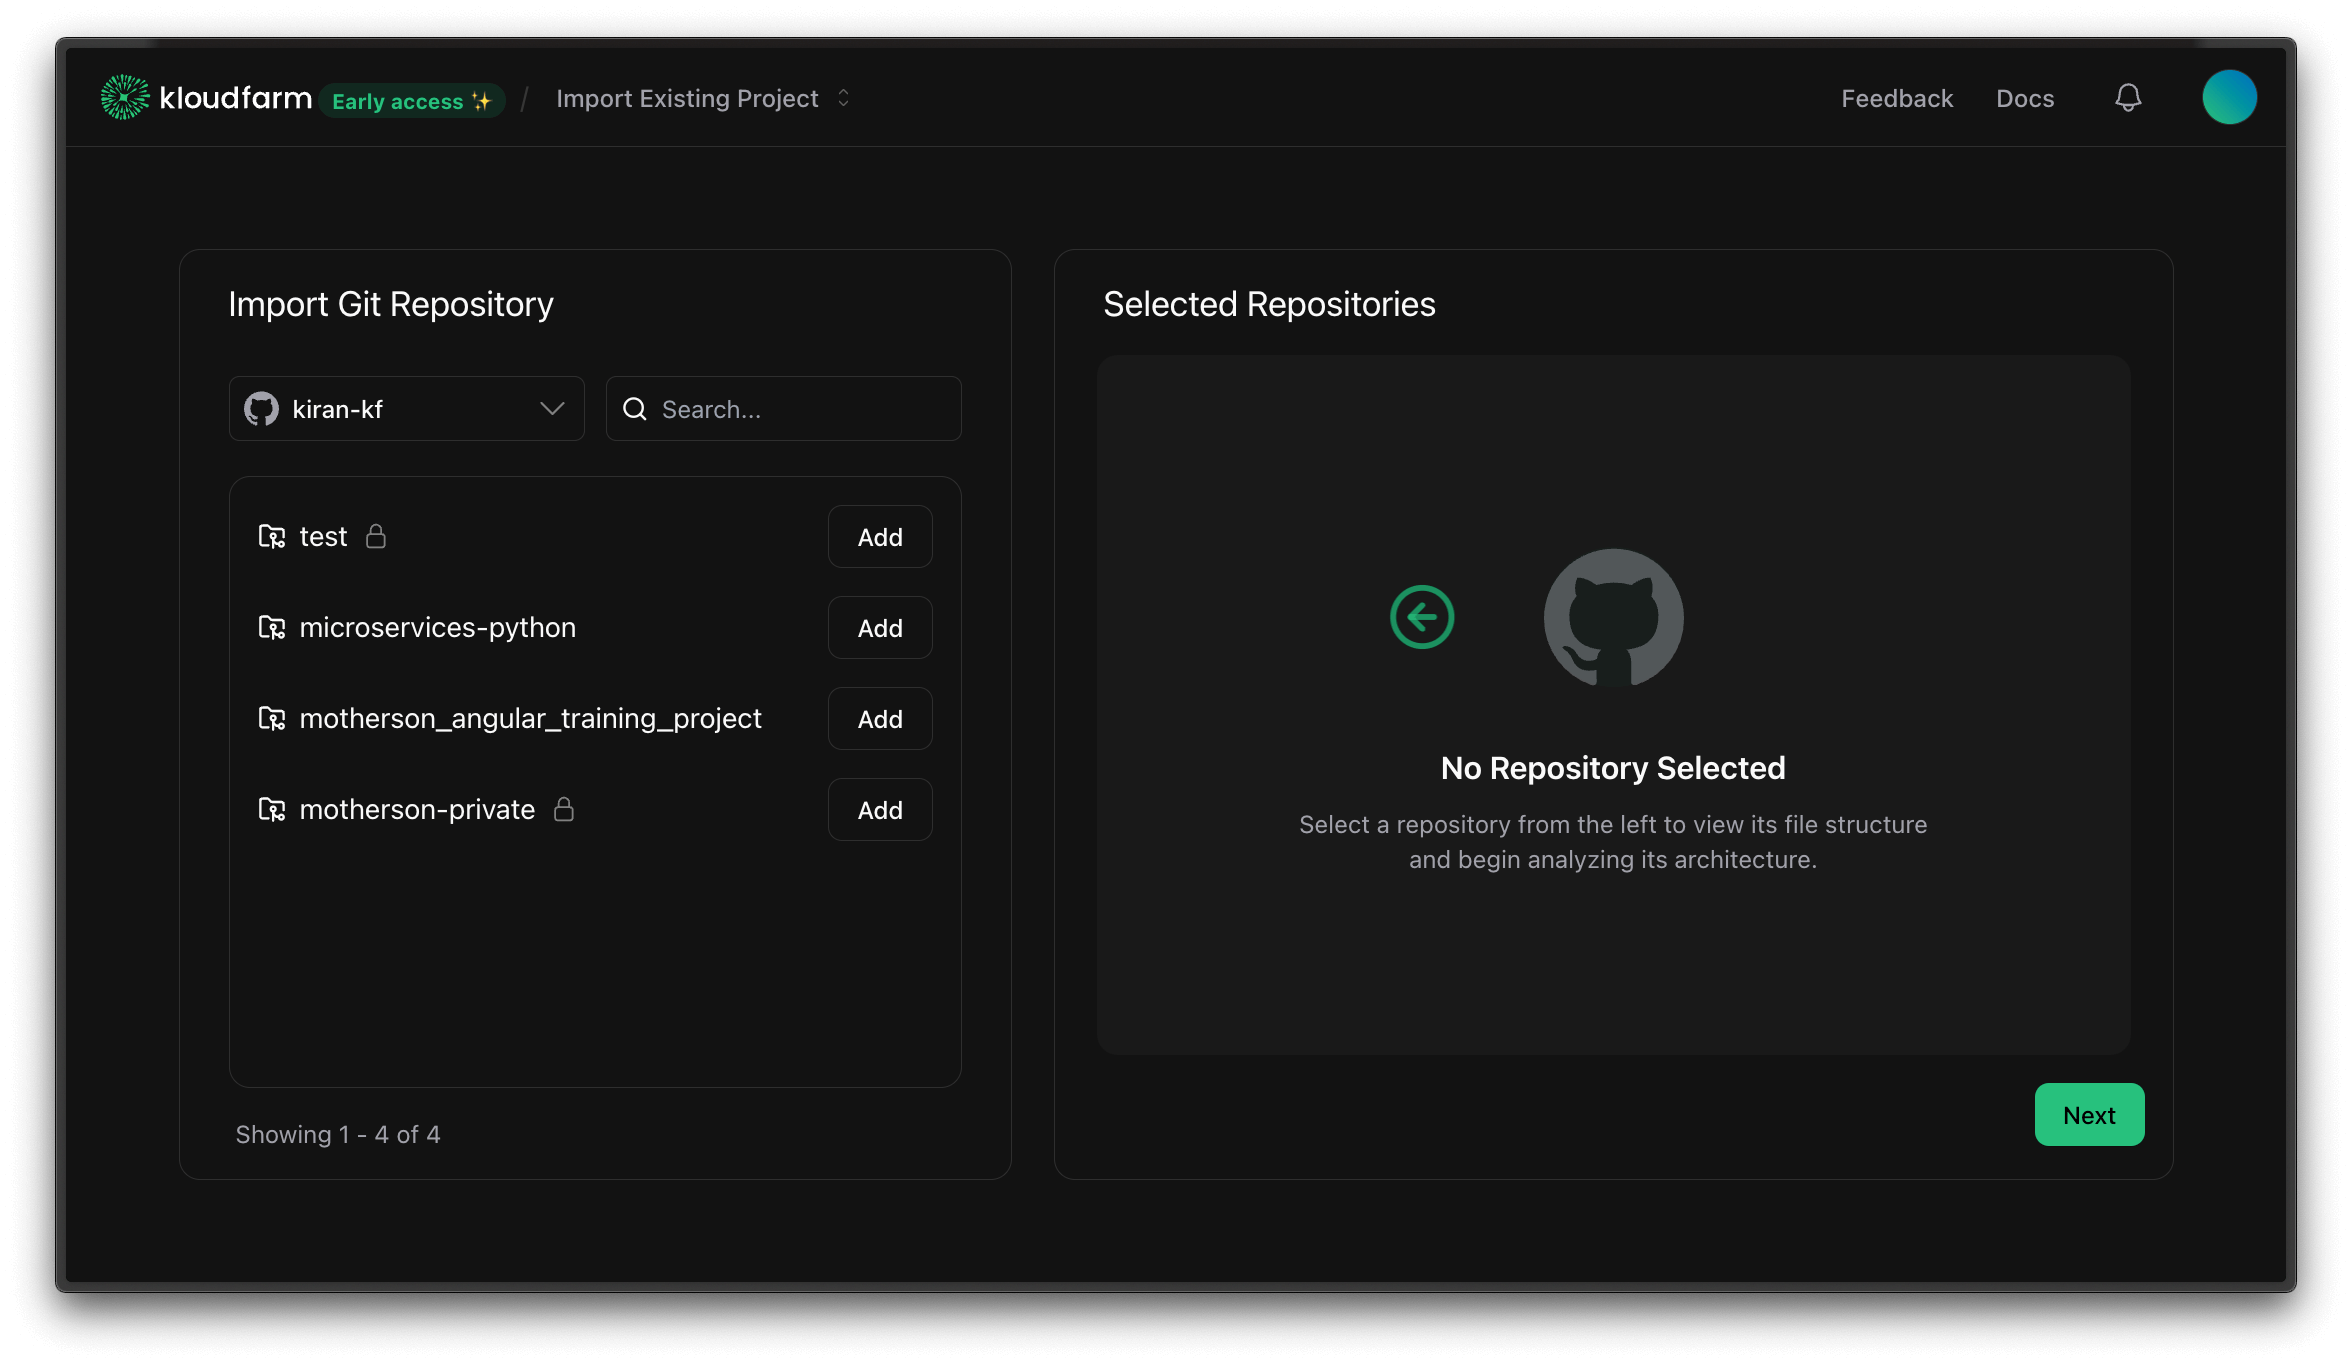
- What you'll see: After authorization, you're back in Kloudfarm.io on an "Import Git Repository" screen.
- What to do:
- Your GitHub repositories will be listed on the left. Use the search bar if needed.
- Find the repository you want (e.g., "motherson-private") and click "Add".
- Then: The selected repository details will appear on the right.
Step 4a: Review Repository Files and Proceed (GitHub)
- What you'll see: The added repository (e.g., "kiran-kf/motherson-private") appears in "Selected Repositories."
- You'll see its file tree structure.
- You can select the branch (e.g., "main").
- A note like "Note: Binary files will be ignored..." might appear.
- What to do: Confirm the correct repository and branch.
- Then: Click "Next". This will take you to "Step 5: Name Your Project."

ZIP Upload Steps (If you chose Option B)
Step 2b: Select Files to Include from Your ZIP
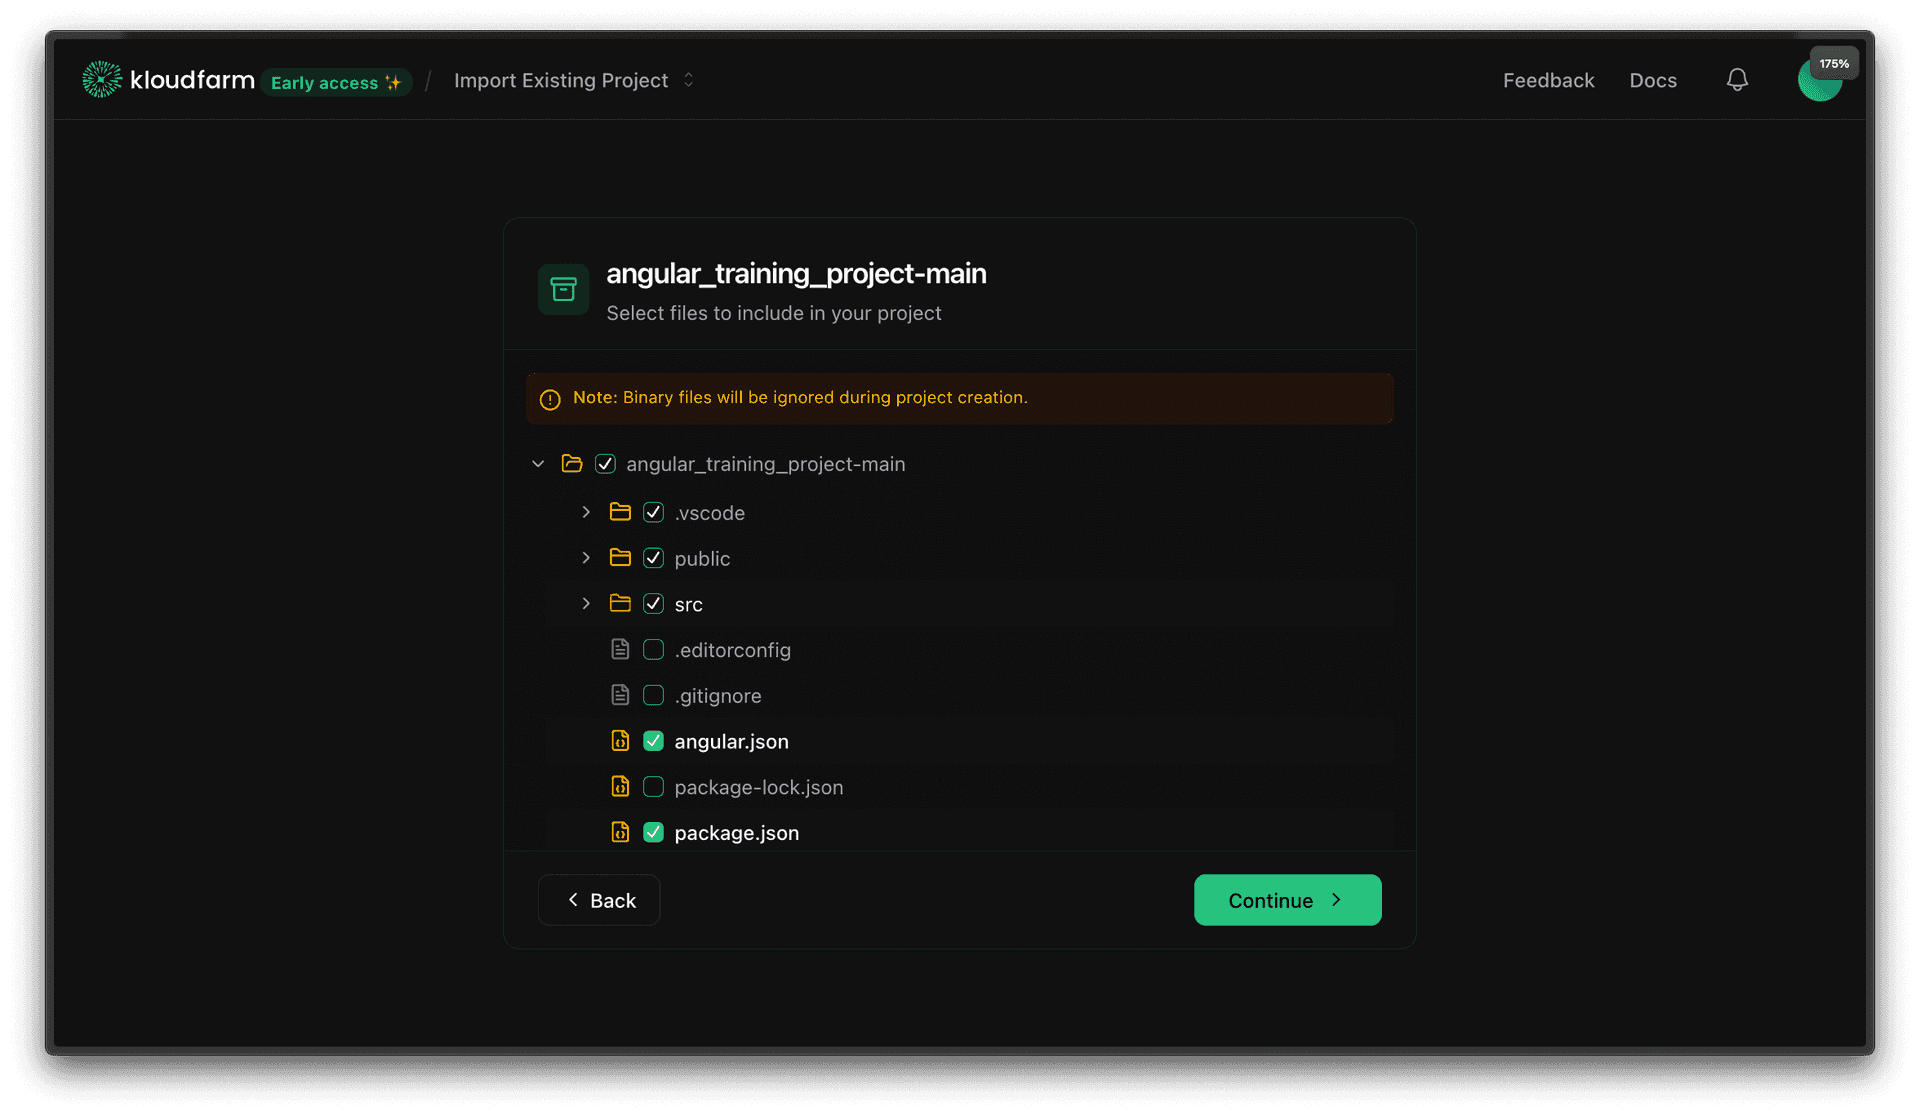
- What you'll see: After uploading your ZIP file, you'll be on a screen showing the contents of your uploaded archive (e.g., "angular_training_project-main"). The title will be something like "Import Existing Project."
- What to do:
- Review the file and folder structure extracted from your ZIP.
- By default, all files and folders are usually selected to be included in your project. You can uncheck any files or folders you wish to exclude.
- A note like "Note: Binary files will be ignored during project creation" will likely be visible.
- Then: Once you're satisfied with the selection, click "Continue". This will take you to "Step 5: Name Your Project."
Common Steps for Both Import Methods
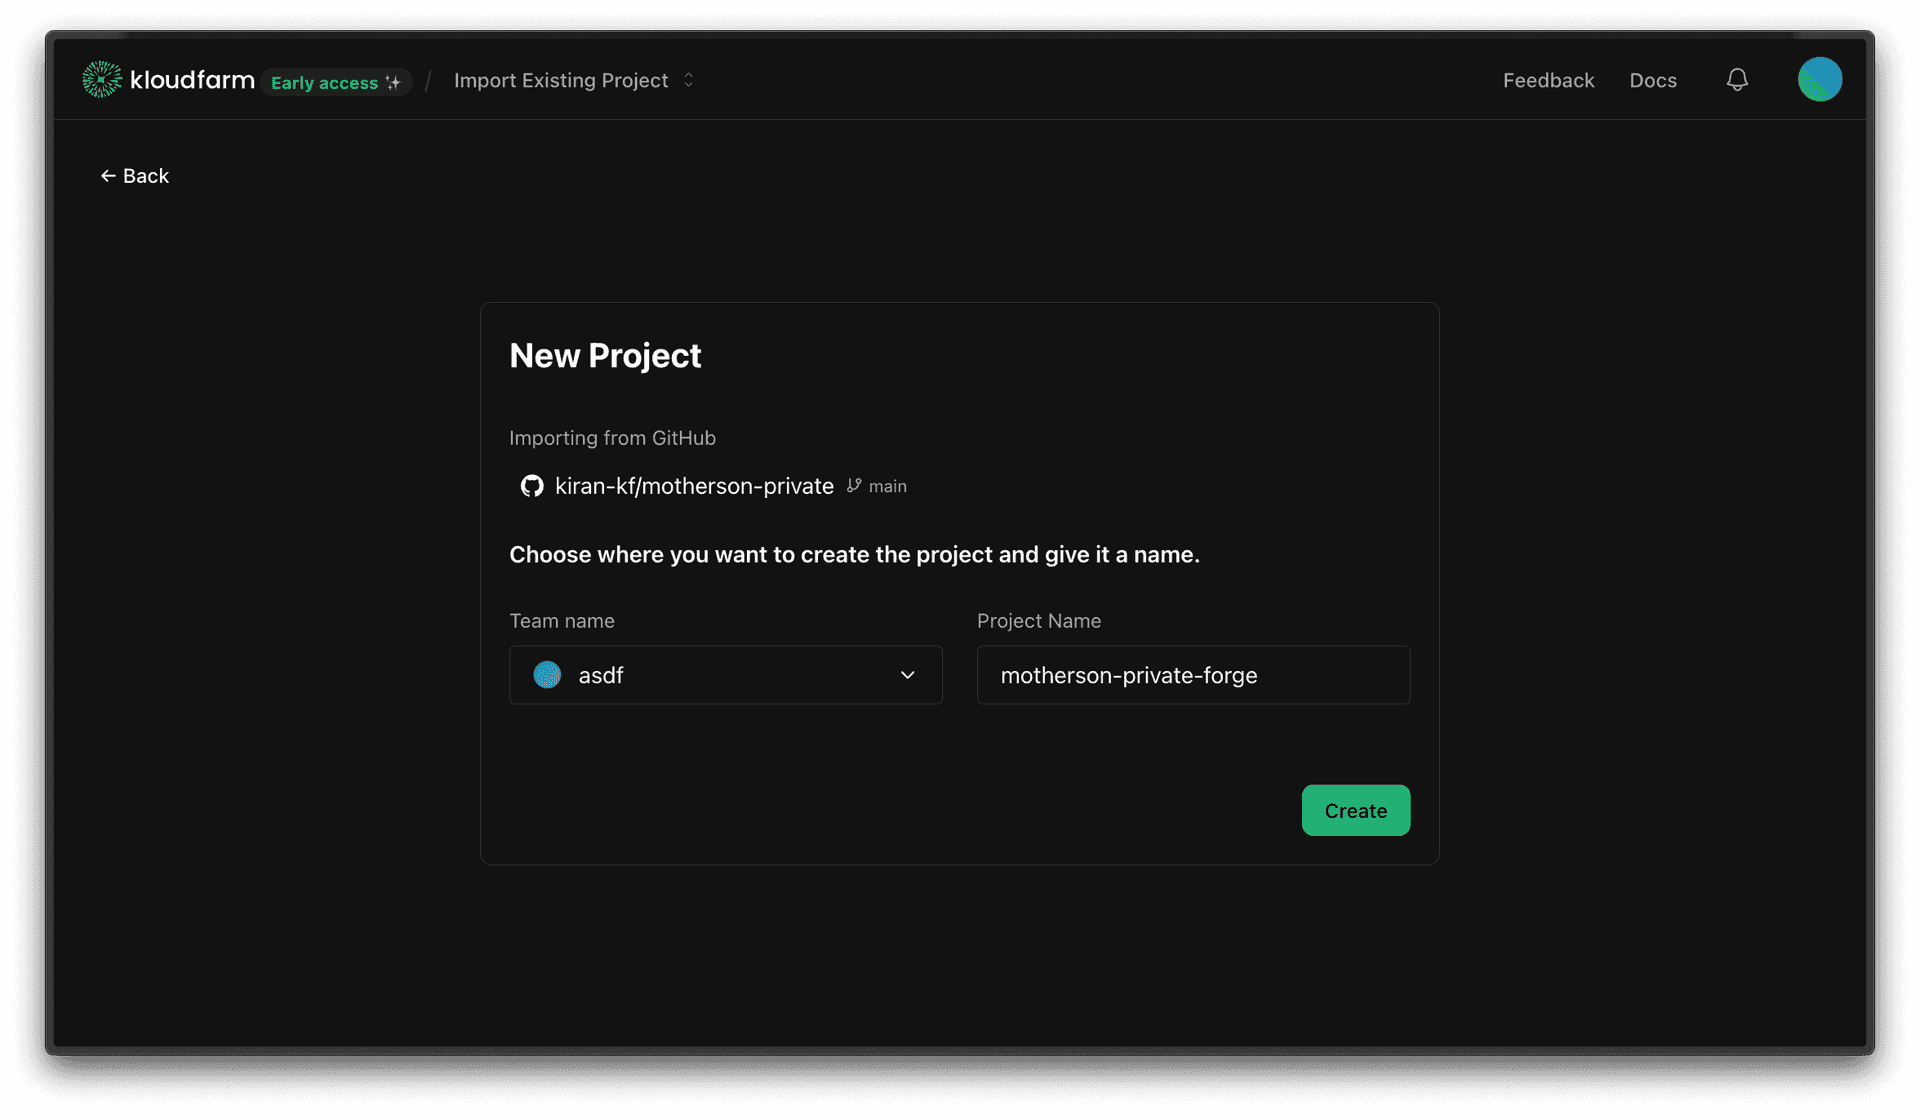
Step 5: Name Your Project
- What you'll see: A "New Project" screen. It will indicate if you're "Importing from GitHub" or from an uploaded file.
- What to do:
- Team name: Choose the team for this project from the dropdown (e.g., "asdf").
- Project Name: Give your Kloudfarm.io project a name. It might default to the repository or ZIP file name (e.g., "motherson-private-forge" or a name derived from your ZIP), but you can change it.
- Then: Click "Create".
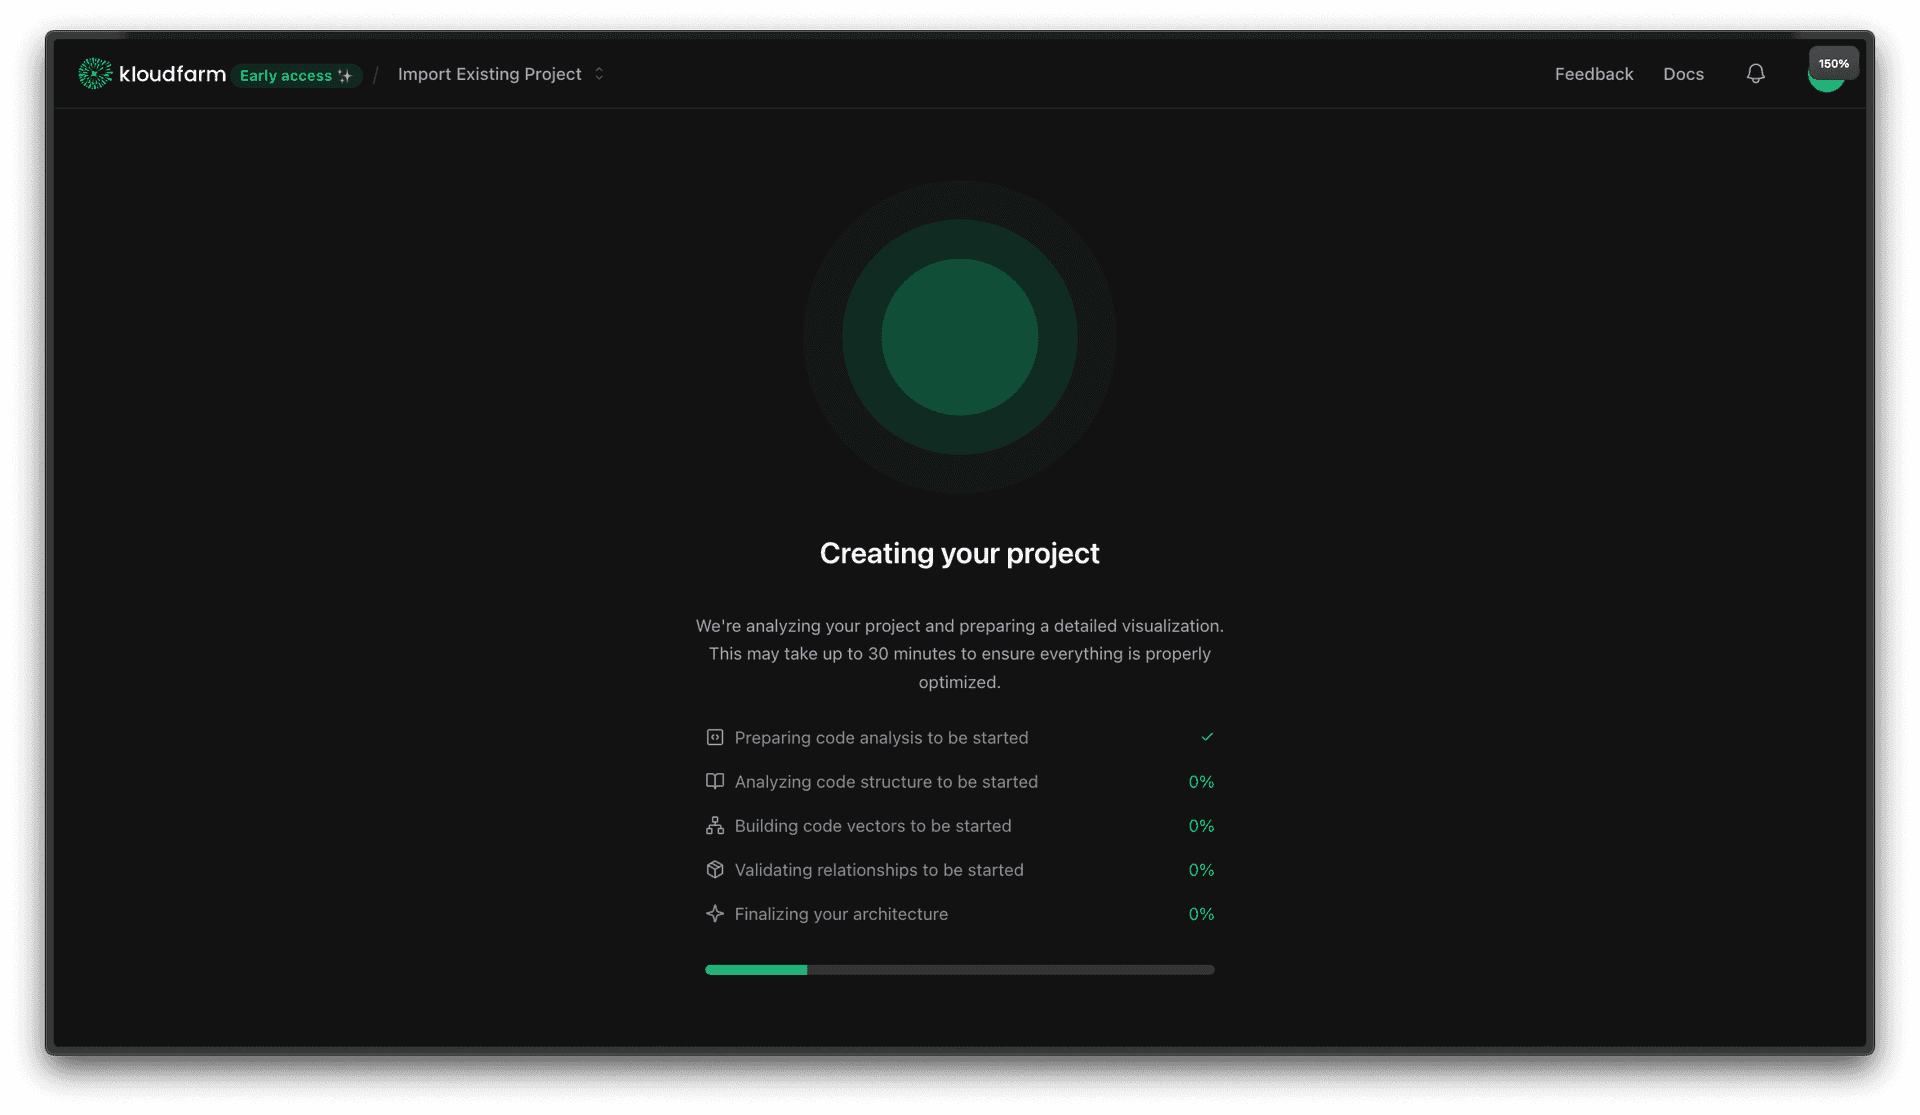
Step 6: Project Creation in Progress
- What you'll see: A progress screen: "Creating your project".
- What to do: This is an automated step. Kloudfarm.io is now:
- Analyzing your project (from GitHub or ZIP).
- Preparing a detailed visualization.
- Performing code analysis.
- Analyzing the code structure.
- Building code sections.
- Validating relationships.
- Finalizing your architecture.
- A message might indicate this can take some time (e.g., "up to 20 minutes") depending on size and complexity.
- The Result: Once done, your project will be imported, and you can explore its visualized architecture in Kloudfarm.io!
And that's how you import your existing projects into Kloudfarm.io, whether from GitHub or a ZIP file! You can now explore your codebase visually, understand dependencies, and leverage Kloudfarm.io's features for your imported architecture.
If you have any questions or need further assistance, please consult our help documentation or reach out to our support team.